Analytics Blog

Tealium Tag Management Examples: How to Build a Custom Tag
Tealium iQ is likely to have most of the tag templates you need within its Tag Marketplace, but there are going to be times in your tag management life when you need a template that doesn’t exist. Luckily, Tealium has 3 customizable tags:
- the Custom Pixel tag,
- the Generic tag, and
- the Custom Container tag.
We’ll be going over these tags, plus taking you through a detailed tutorial on how to implement a Custom Container tag.
Tag Management Salvation
Tealium iQ is designed with simplicity in mind.
Gone are the days where you have to rely on a developer to get a marketing tag out.
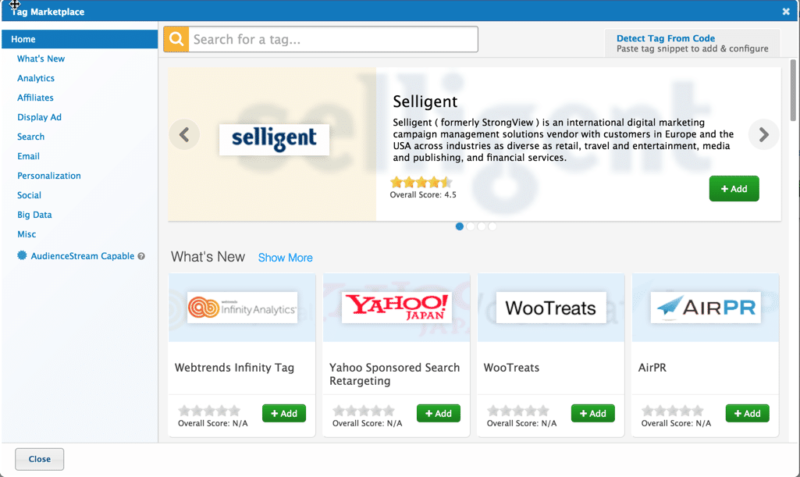
What makes tag management implementation through Tealium iQ so simple? The tool has a Tag Marketplace that contains hundreds of tag templates.
Each tag template contains form fields requesting information about the tag you want to implement, such as the account ID or conversion label. In many cases you can use the “Extract From Code” option that will pull the necessary information from a snippet of code that you copy and paste into Tealium.
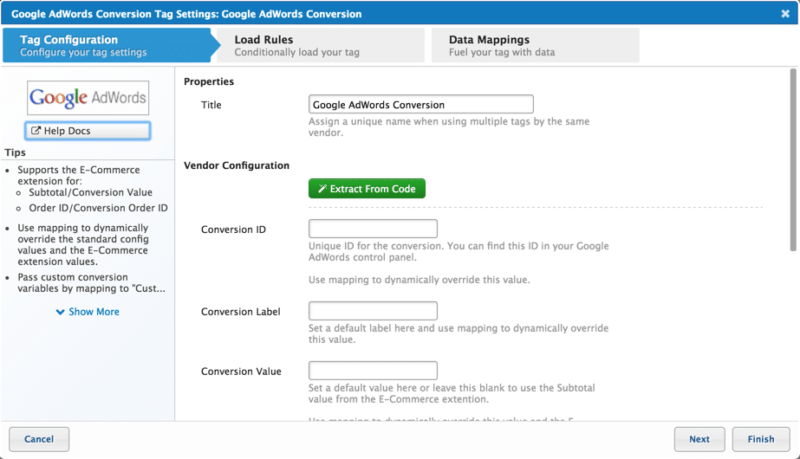
Within a few clicks and couple of copy-and-paste actions, you can have a tag ready to publish in no time.
In a World Gone Dark
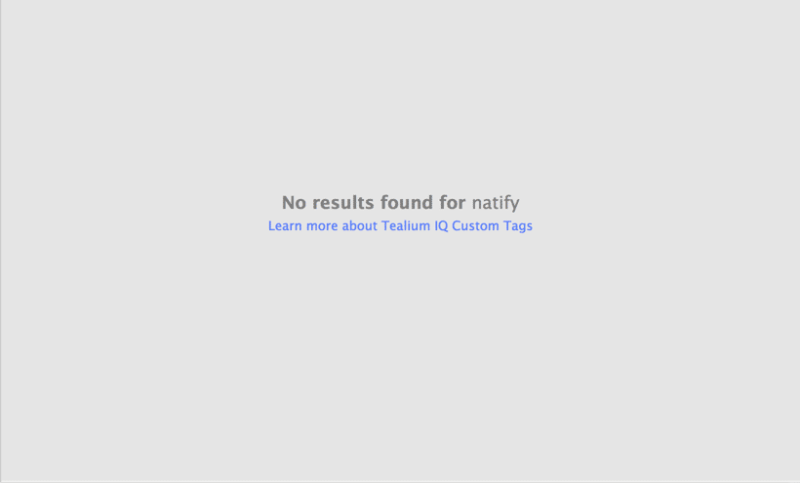
But what happens when you have a tag that needs to be implemented and you see this horrifying ‘ no results found’ image on your screen?
There is no need to panic. In these situations, you can take my code snippet and use the “Detect Tag From Code” tool found in the right hand corner of the Tealium Tag Marketplace modal.
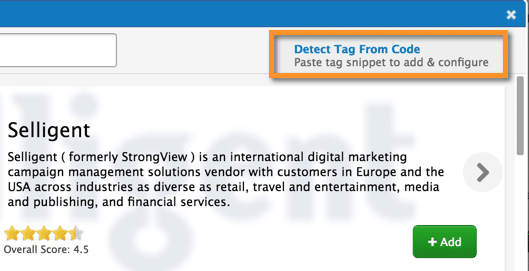
This is a good tool to use, because sometimes a tag name will change due to a company being acquired by a larger company in order to use their technology…or simply due to rebranding. Most of the the time you’ll find that a template does exist under a different name, but sometimes you get a screen like this:
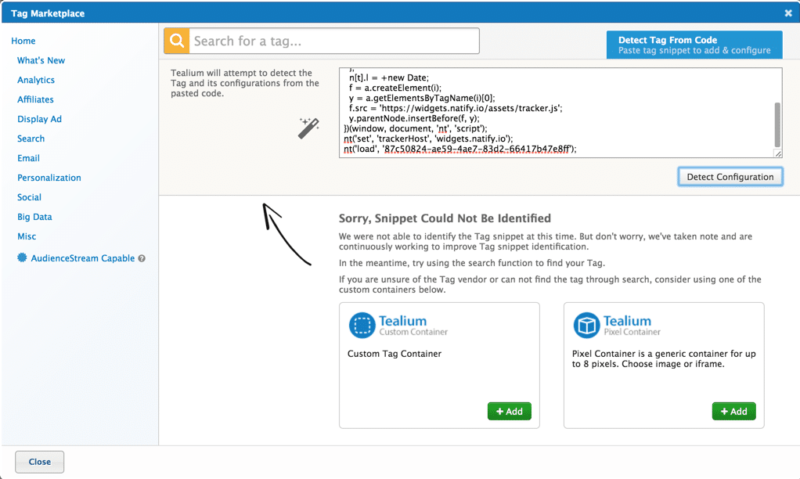
Once again, please do not panic. There is a beacon of hope in the form of the Tealium Custom Container and the Tealium Pixel Container.
Beacon(s) of Hope
Let’s face the facts. You have a tag, but so far have been unable to implement. What’s a marketer to do? Tealium gives you a few options at this point.
Tealium Pixel Container
This template allows you to add up to 8 tags at a time that will be loaded onto the page as an image tag or an iframe. This template is the best solution if you have a static tag that doesn’t require any variable mapping, such as the tag below:
<img src=”https://r.turn.com/r/beacon?b2=zAgTIYIYIUYqlaHJKhjkkjhkhHKJHK09QFWcbyOApC16iYE_sX1zYAF7tjqrG4__XBeRoQ8jklY2ewIzhdrrm18XB7teTi5RXBdA”>
Tealium Generic Tag
This option isn’t listed by Tealium when it fails to detect your code snippet, but is still a valid option. It’s very similar to the Tealium Pixel Container in that it allows you to add static image and iframe tags, as well as script tags. But this option adds the ability to use data mappings to dynamically set parameters to the src attribute of your tag.
Tealium Custom Container
Your final option is probably the most frightening one. But that’s why I am here to guide you through each step you need to take to successfully implement a Custom Container. The Custom Container is best used for a tag that depends on JavaScript Library to load prior to triggering an event call.
A Facebook tag is a good example of the type of tag that would need to be implemented via a Custom Container if it didn’t already have a pre-made Tealium template.
Powering the Beacon
When you first begin to add a Tealium Custom Container it might be a little off-putting.
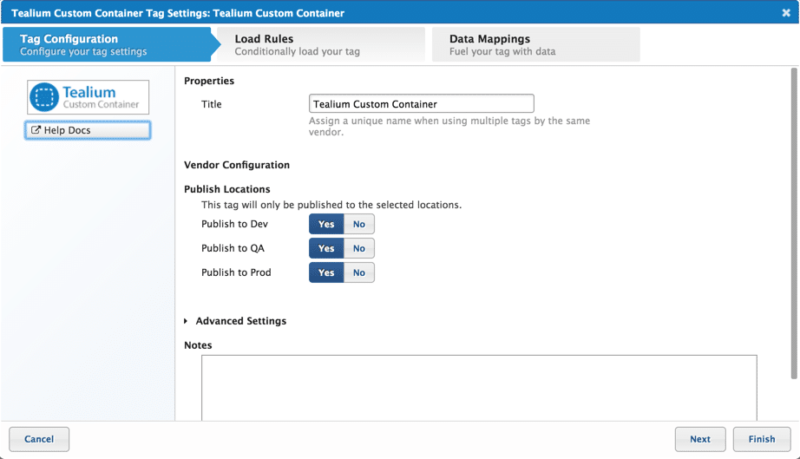
I mean, the only option you are given is to name your tag and where the tag should be published. What gives?
The Tealium Custom Container requires something that other tags don’t require: coding.
Before we get to that though, you should click the “Help Docs” link within the user interface (UI) and read the doc. Don’t worry, I’ll wait. I even put it right here so you don’t have to open Tealium (but you will have to log in once you click the link).
Oh good, you finished. So what did we learn?
- You need to have permission to edit templates.
- You have to perform a “save” or “save as” in order to edit the template. But don’t publish yet; just save the version you’re working on.
- You can only use JavaScript code.
- Do not add any HTML code.
- Do not include any <script> </script> tags in your code.
- Uncomment the single-line Javascript comments (“//”) before inserting the code in a section.
- You can use data mappings to map Universal Data Object (UDO) variables to your tag.
- When saving, you should “Save Profile Template” instead of “Save Version Template” so that your template stays in place after you publish your current version.
The reason you have to edit the template in order to use a Custom Container is because all tags in the marketplace have a template similar to what your Custom Container template will be once you are finished. The only difference is that you have to add all the code for a Custom Container, versus having the code already in place for you.
The Template
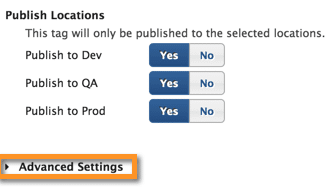
The easiest way to open the template is to open Advanced Settings:
Then click Edit Templates:
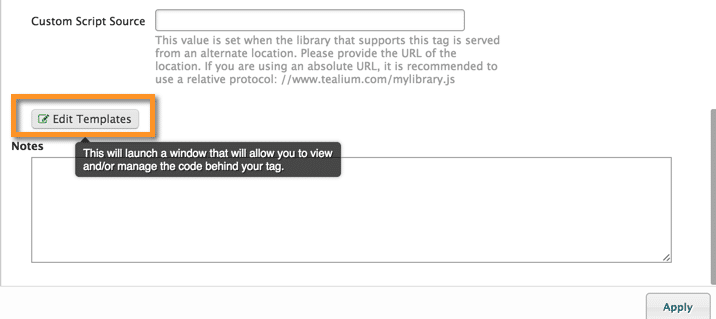
I recommend copying the code from the window and pasting it into your favorite text editor. In your editor you should see what looks like — at first glance — very complex code.
It might look bad, but it really isn’t. The code contains 4 modifiable sections:
- Mapping Code
- Tag Sending Code
- Loader Callback Tag Sending Code
- Loader Function Call
Everything else, you won’t need to touch. Let’s go over the steps that need to be taken for each section in order to implement the tag below.
| (function(n, a, t, i, f, y) { n.NatifyTrackerObject = t; n[t] = function() { n[t].q = n[t].q || []; n[t].q.push(arguments); }; n[t].l = +new Date; f = a.createElement(i); y = a.getElementsByTagName(i)[0]; f.src = ‘//widgets.natify.io/assets/tracker.js’; y.parentNode.insertBefore(f, y); })(window, document, ‘nt’, ‘script’); nt(‘set’, ‘trackerHost’, ‘widgets.natify.io’); nt(‘load’, ’99a99999-aa99-9aa9-99a9-99999a99a9aa’); |
Mapping Code
| u.data = { /* Initialize default tag parameter values here */ /* Examples: */ /* “account_id” : “1234567” */ /* “base_url” : “//insert.your.javascript.library.url.here.js” */ /* A value mapped to “account_id” or “base_url” in TiQ will replace these default values. */ }; /* Start Tag-Scoped Extensions Code */ /* Please Do Not Edit This Section */ ##UTEXTEND## /* End Tag-Scoped Extensions Code */ /* Start Mapping Code */ for (d in utag.loader.GV(u.map)) { if (b[d] !== undefined && b[d] !== “”) { e = u.map[d].split(“,”); for (f = 0; f < e.length; f++) { u.data[e[f]] = b[d]; } } } /* End Mapping Code */ |
In this section, we’ll set up the variables that we’ll use within the template, which will eventually be mapped to UDO variables. Based on our tag, it looks like we could have 3 potential tag parameters that we need to set up:
- tracker_host = ‘widgets.natify.io’
- account_id = ’99a99999-aa99-9aa9-99a9-99999a99a9aa’
- base_url = ‘//widgets.natify.io/assets/tracker.js’
To set these up in the template, replace the example tag parameters with the values you would like to use. I recommend leaving the values of ‘tracker_host’ and ‘account_id’ as blank and give ‘base_url’ a default value of ‘//widgets.natify.io/assets/tracker.js’.
Once you have completed your edits this section should look like this:
| u.data = { /* Initialize default tag parameter values here */ “account_id” : “”, “base_url” : “//widgets.natify.io/assets/tracker.js”, “tracker_host” : “” }; /* Start Tag-Scoped Extensions Code */ /* Please Do Not Edit This Section */ ##UTEXTEND## /* End Tag-Scoped Extensions Code */ /* Start Mapping Code */ for (d in utag.loader.GV(u.map)) { if (b[d] !== undefined && b[d] !== “”) { e = u.map[d].split(“,”); for (f = 0; f < e.length; f++) { u.data[e[f]] = b[d]; } } } /* End Mapping Code */ |
You’ll need to take a couple of extra steps outside of the template in order to give value to ‘tracker_host’ and ‘account_id’.
Start by using a “Set Data Values” extension scoped to your Custom Container:

Then map those variables to your Custom Container:
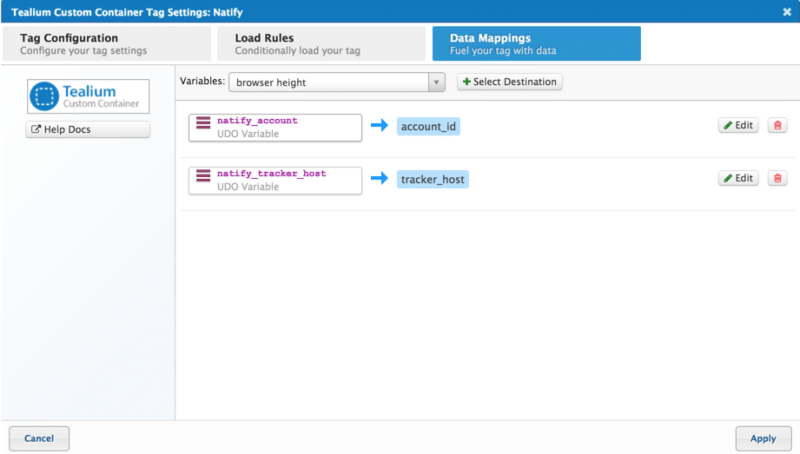
Please note that you will have to type in the destination variable to match the name you used within the template.
Tag Sending Code
| /* Start Tag Sending Code */ // Insert your tag sending code here. /* End Tag Sending Code */ |
This is the section where you will place the actual snippet of code, with a few minor alterations. Since we are dynamically populating values with UDO variables, we will have to change the snippet to reflect that. The Tag Sending Code section will resemble this when complete:
| /* Start Tag Sending Code */ (function(n, a, t, i, f, y) { n.NatifyTrackerObject = t; n[t] = function() { n[t].q = n[t].q || []; n[t].q.push(arguments); }; n[t].l = +new Date; f = a.createElement(i); y = a.getElementsByTagName(i)[0]; f.src = ‘//widgets.natify.io/assets/tracker.js’; y.parentNode.insertBefore(f, y); })(window, document, ‘nt’, ‘script’); nt(‘set’, ‘trackerHost’, u.data.tracker_host); nt(‘load’, u.data.account_id); /* End Tag Sending Code */ |
If you were to save this template and publish this tag to your dev or QA environment, you would see that it is working without having to edit the Loader Callback Tag Sending code and the Loader Function Call sections. These sections are for a very specific use case.
Loader Callback Tag Sending Code and Loader Function Call
While QAing you may find that there are some timing issues. Let’s say you have a JavaScript file that needs to load prior to a function call that is defined in the JavaScript fires. You can use the Loader Function Call to load an iframe or script tag on the page. Using our tag example we would change the Tag Sending section code, not to create a script tag but to create just the “nt” object.
| /* Start Tag Sending Code */ (function(n, a, t, i, f, y) { n.NatifyTrackerObject = t; n[t] = function() { n[t].q = n[t].q || []; n[t].q.push(arguments); }; n[t].l = +new Date; })(window, document, ‘nt’); /* End Tag Sending Code */ |
Then we would set up the Loader Function Call by uncommenting the necessary lines to have Tealium load the script tag, instead of the function in the Tag Sending Code section.
| /* Start Loader Function Call */ /* Un-comment the single-line JavaScript comments (“//”) to use Loader. */ if (!u.initialized) { //u.loader({“type” : “iframe”, “src” : u.data.base_url + c.join(u.data.qsp_delim), “cb” : u.loader_cb, “loc” : “body”, “id” : ‘utag_##UTID##’ }); u.loader({“type” : “script”, “src” : u.data.base_url, “cb” : u.loader_cb, “loc” : “script”, “id” : ‘utag_##UTID##’ }); } else { u.loader_cb(); } //u.loader({“type” : “img”, “src” : u.data.base_url + c.join(u.data.qsp_delim) }); /* End Loader Function Call */ |
Next we want to set up the Loader Callback Tag Sending Code section to fire our two Natify function calls.
| /* Start Loader Callback Function */ /* Un-comment the single-line JavaScript comments (“//”) to use this Loader callback function. */ u.loader_cb = function () { u.initialized = true; /* Start Loader Callback Tag Sending Code */ nt(‘set’, ‘trackerHost’, u.data.tracker_host); nt(‘load’, u.data.account_id); /* End Loader Callback Tag Sending Code */ }; /* End Loader Callback Function */ |
Now we have our template set up so that our two function calls won’t fire until the JavaScript file has loaded.
This Is Just the Beginning
The Tealium Custom Container isn’t the only template you can edit; you can edit the template of any tag found in the Tag Marketplace! Now that you know the basic layout of a template, you can take a look into other tag templates and see what makes them tick. As you become more comfortable with template editing, a whole new level of tag management opens up that allows you to use Tealium to do your bidding.
Let me know if you have any questions about the Tealium tag management examples provided, or any Tealium implementation questions for that matter.


